In iOs 9 some changes are made in connecting to the camera to get pictures from it.
Here is a simple example to what you have to do to make it work.
The how to is going step by step and will cover all the basic aspects. The full code of the working example can be found on GitHub
Please enjoy and I will be really happy to get feedback.
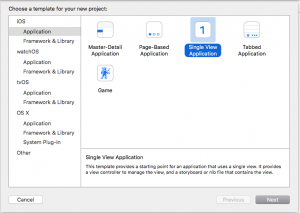
- Create a new Single view application in XCode.
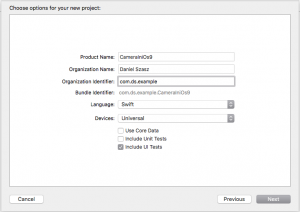
- Fill application details parameters.
- Select your developer account. If something is missing you will have a message with the warning and also a “Fix It” button. Press the button and XCode will do it’s magic. Actually in 7.2 is working really nice and smooth.
- Connect your device to the computer using the USB cable and let’s run the just created application.
- There are two major possibilities. It’s running so everything is fine or you just got on the computer an error “Security”. In this second case you should go into your iOs device Settings. Inside go to “General”. Inside almost in the end you can find “Profiles & Device Management”. Get inside. You will have a section “DEVELOPER APPS”. Usual you email account is there. When you press on it you will have a dialog where you can say that you “Trust” this developer applications. Now you are invited to repeat the previous step. Try to run the app. Actually now we should have an empty running application.
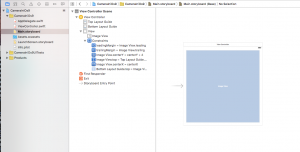
- Let’s start adding to the storyboard the basic objects:
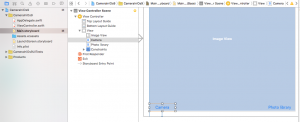
- ImageView – here we will show the selected picture from photo library or the picture taken by the camera
- Button – button to open the photo library
- Button – button to open the camera
The ImageView shall be located in the middle of the screen and stretch it to the margins of the screen. Don’t forget to add the constraints if you want to make it look really nice.
I located the buttons on the bottom of the screen. The reason for that is that I prefer to have them close to the places where is easier to get with the fingers.


Leave A Comment